To show an image in the coupon widget, you need to create a “store” and provide the image there, then assign any current or future coupons to the relevant store.
The benefit to this arrangement is that you can list all the coupons of a specific store in one place with one shortcode, and you only need to have uploaded the image once.
See the video below to watch how to create a store and upload an image, or find the instructions below.
The recommended image size is 250px by 100px (H x W).
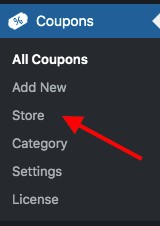
Step 1: Navigate to “Store” from the plugin sidebar options.

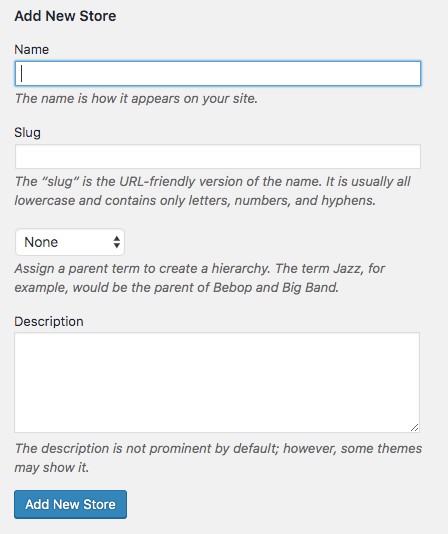
Step 2: Simply type in the name of the store or vendor, and click “Add New Store”. You don’t need to provide any of the other options listed here as this information won’t be visible on your site.

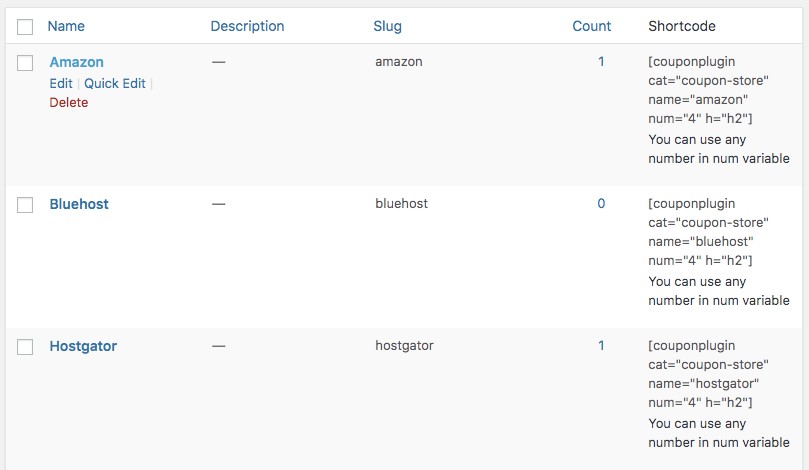
Step 3: After the new store has been added, you will see the entire list of stores you have created on the right hand side. Select the name of the store you just created to edit it.

Step 4: At the bottom of the “Store Edit” options you will see Store Image, with a button to upload an image. Press this button to open the WordPress media library, where you can then upload an image from your computer.

…

…

The recommended image size is 250px by 100px (H x W).
Step 5: With the store image uploaded, you can now assign any current and future coupons to this store, and the image will be displayed in their widget.
To assign an existing coupon to the new store you’ve just created, navigate to “All Coupons” from the sidebar menu and select the specific coupon from the list.
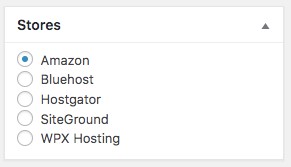
You will see a list of all the stores you have created in the right hand sidebar. Select the relevant store and then press “Update”.

Of course, it is wise to create a “store” before adding new coupons, so any future coupons can be assigned to the store during the creation process.
0
0